Over the past few years I have had the opportunity to use a number of 3D printers to print some of the parts I had designed. I really like the idea of being able to quickly design a part and then print it into a physical object, within only a few hours. As a result, I decided that I wanted to build my own printer!
At first I wanted to build the whole printer from scratch, using some parts that I had lying around at home along with some parts bought online. But after I did some research, I realised that buying a whole 3D printer kit online that was almost cheaper than buying the individual components! The HIC Prusa i3 kit was about $340 at the time (Summer 2015), and I also bought some PLA printer filament on Amazon. The best part of the deal was that the whole kit was sent for free by courier to Ireland; all the way from Hong Kong! The whole thing almost seemed too good to be true…
… and it was too good to be true! I had forgotten about import duties and taxes on packages from outside the EU, so that cost me another €50. All the same, the delivery took a mere 4 days (from Hong Kong to Ireland) and the parts arrived well packaged and undamaged.

Assembly
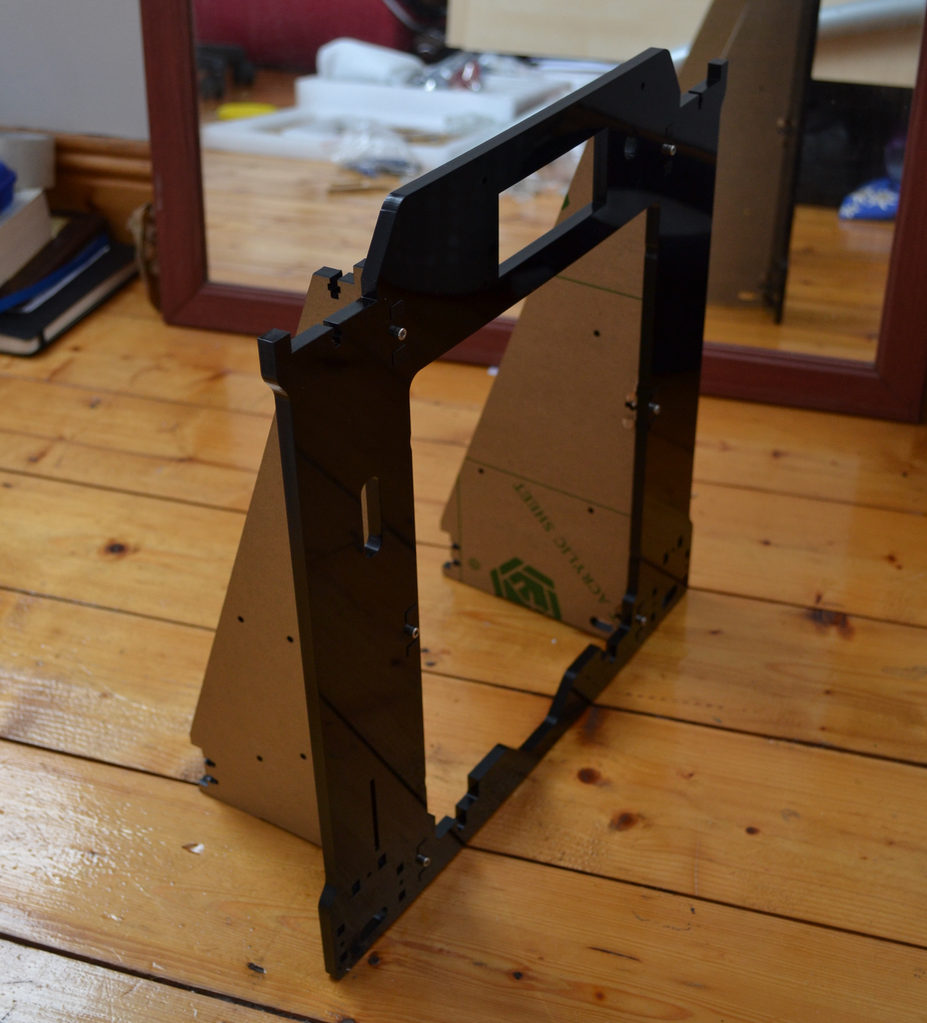
Although the instructions provided with the printer kit weren’t great, the assembly of the 3D printed was relatively straight-forward. The main issue I came across during the assembly was that the Z-axis stepper motor cable included with the kit was too short, so I had to cut it in half and solder on some wires to make it longer. The linear bearings on which the X and Y-axis carriages were tricky to get aligned properly, so they required an hour or two to calibrate properly so that they would move smoothly.
The instructions didn’t say much about cable management – apart from one rough diagram – so I relied on my intuition as an engineer in order to position them properly. All the same, it wasn’t a hard build and there weren’t any unexpected surprises. I was prepared for a little bit of guess work and tinkering, so the whole assembly was completed in just a few hours (spread across 3-4 evenings).
Software
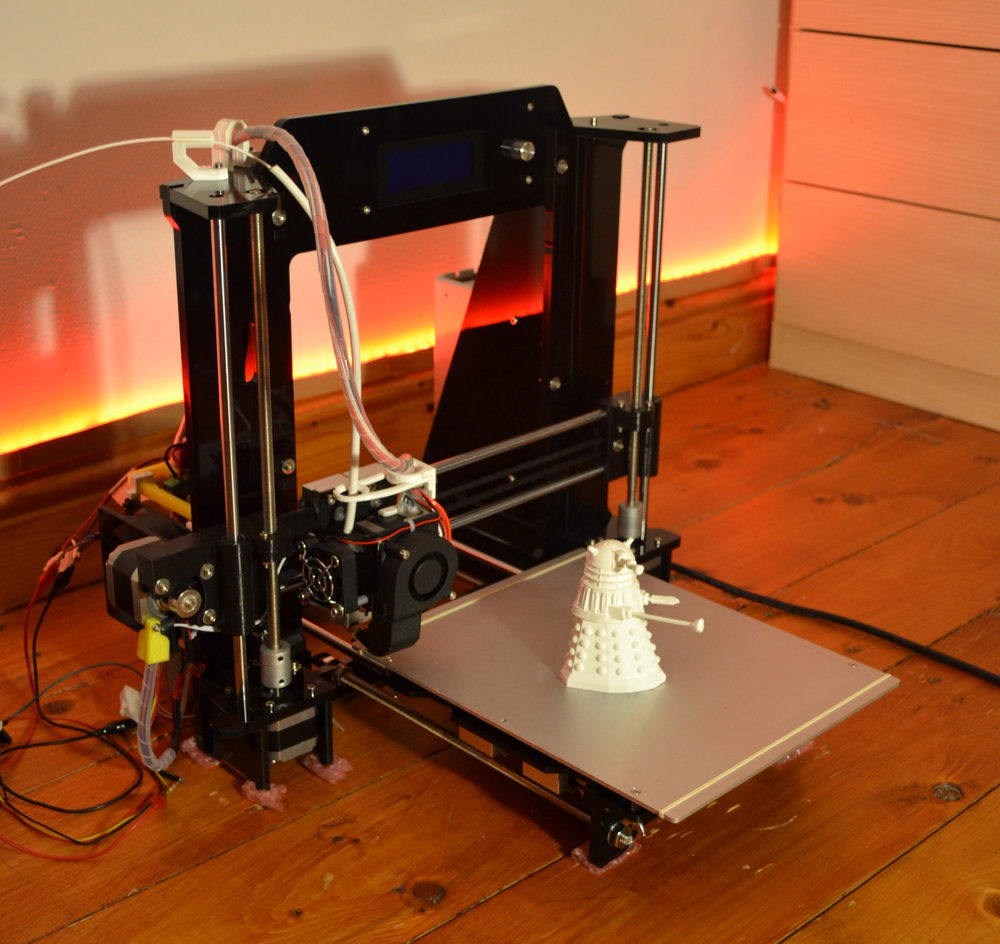
Surprisingly enough, getting the firmware to work was the most difficult part of the whole build. Although the controller board came with some firmware already installed, I decided to compile my own version so that I would have more control of the whole system. I downloaded the latest version of Marlin, and started editing the configurations to suit those of my printer. There are plenty of videos/blog posts available describing how to configure the firmware properly, but it took me almost 2 weeks and numerous test prints to get most of the settings right. Since then, I’ve made minor changes to the firmware every month or two.
Updated: 24th May 2019 – Reformatted post