Ever since I first assembled my 3d-printer four years ago, I have wanted to build something substantial and impressive with it. I’ve printed numerous small and useful things with it over the years (replacements for broken shower parts, cases for electronic boards etc.), but I hadn’t really manufactured anything artistic which could stand up on its own. I just finished my Electronic Engineering Undergraduate course in May, so I had three months free to work on my own project before I began my Masters in September.
Since I’m just starting a Masters in Robotics, I decided that whatever I make, it should be some kind of robot. That is how I began designing and manufacturing my own version of Wall-E, from the 2008 Pixar film! There are few robots that are better known and loved than Wall-E, and I also chose him for a number of other reasons. The project is scaleable, as apart from the building process a lot of interesting work could be done adding emotions and interactions to the robot. I planned to add several servo motors to the eyes and neck to allow him to be very expressive. As I did my Bachelor project on the area of voice and face recognition, I also wanted to include a camera in one of the eyes so that he could recognise his friends!
As always tends to happen on replica projects like these, I got a little bit too ambitious… but all in all I am really happy with the result! The robot is battery powered, and the motors are controlled using an Arduino Uno. The cable attached in the video is only used to send serial commands to the Arduino so that I can control his movements.
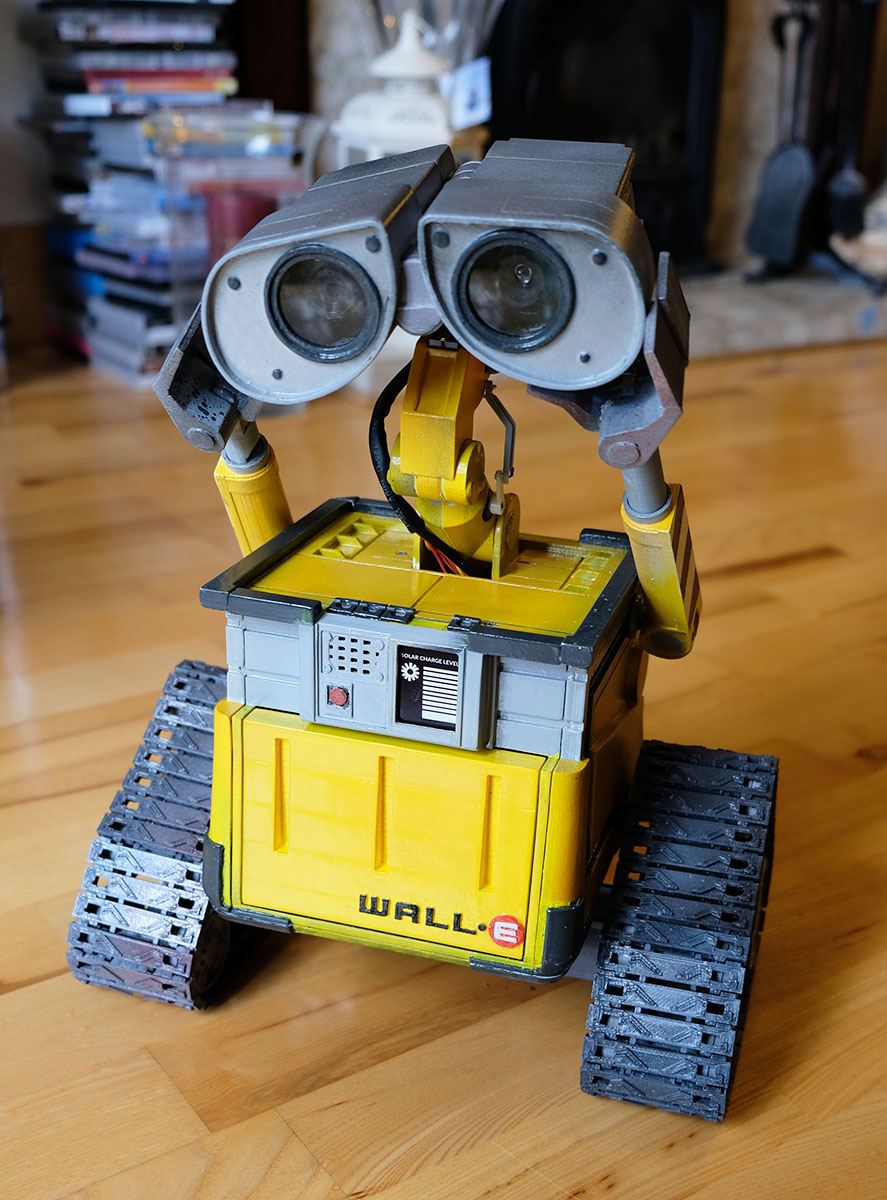
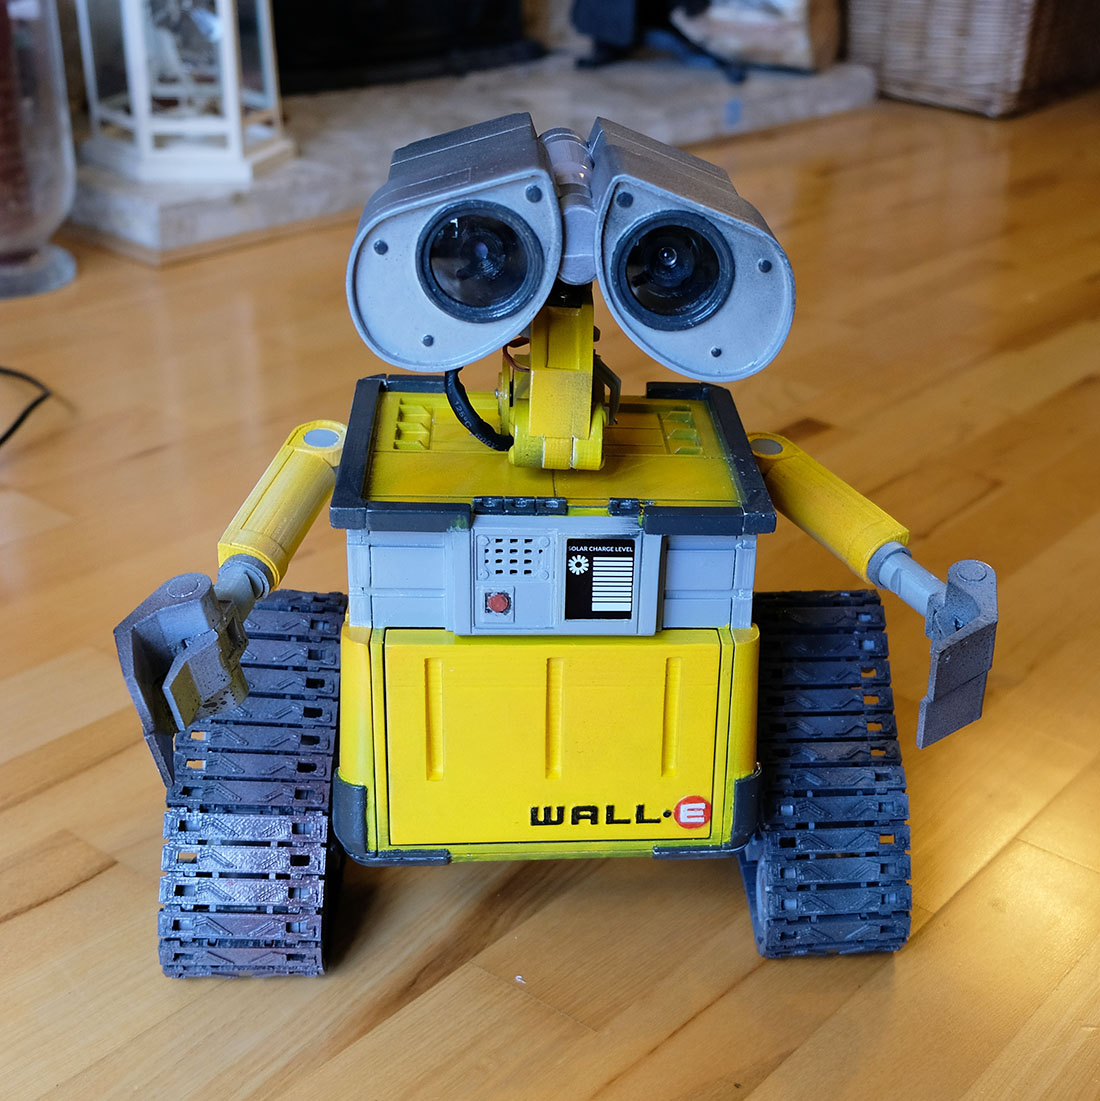
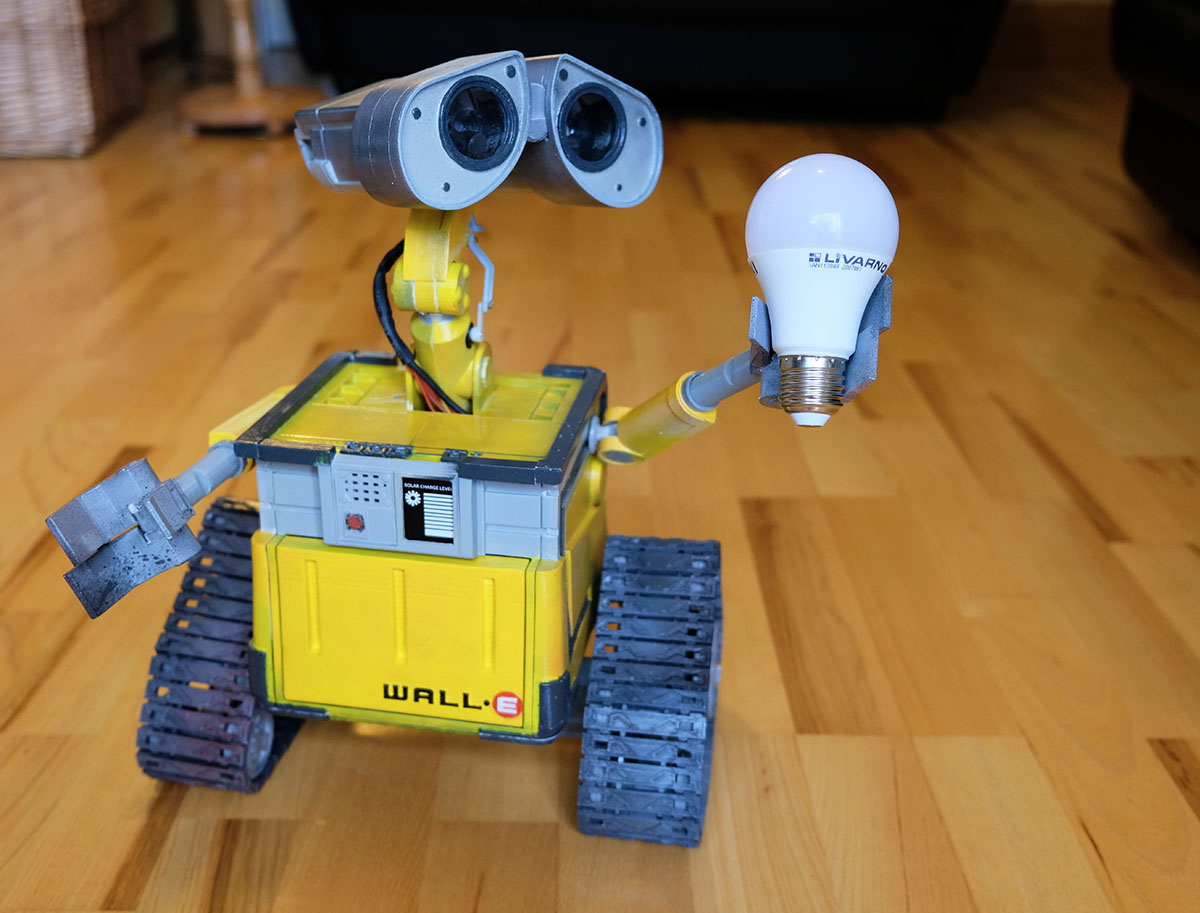
The robots is comprised of a mind-numbing total of 309 printed parts! 210 of those parts make up the tank/caterpillar treads, as each of the 70 small plates is held together by two even smaller plastic pins. The arms and hands are fully articulated, and can be manually posed into a variety of positions.
The final goal is to include a Raspberry Pi within Wall-E (connected to the Arduino) to allow him to be controlled wirelessly, and to add sounds and a live camera feed. Unfortunately I ran out of time during the summer, and only just managed to complete all of the 3d-printing, painting and assembly. I wrote a small program to test each of the motors, as well as drive the robot around with some simple controls. When testing the servo motors, I noticed that some parts of the robot are too heavy for the small motors to lift. For example the two joints in the neck don’t really work as the head is too heavy. I’ll need to have a look at how I can solve this issue once I have a little more time again.
Update: (28th July 2019) I have now released all the 3d CAD files, assembly instructions and code for the robot so that you can make your own! I’ve described the robot in greater detail on a separate page:
Here is a collection of pictures of the assembled robot: